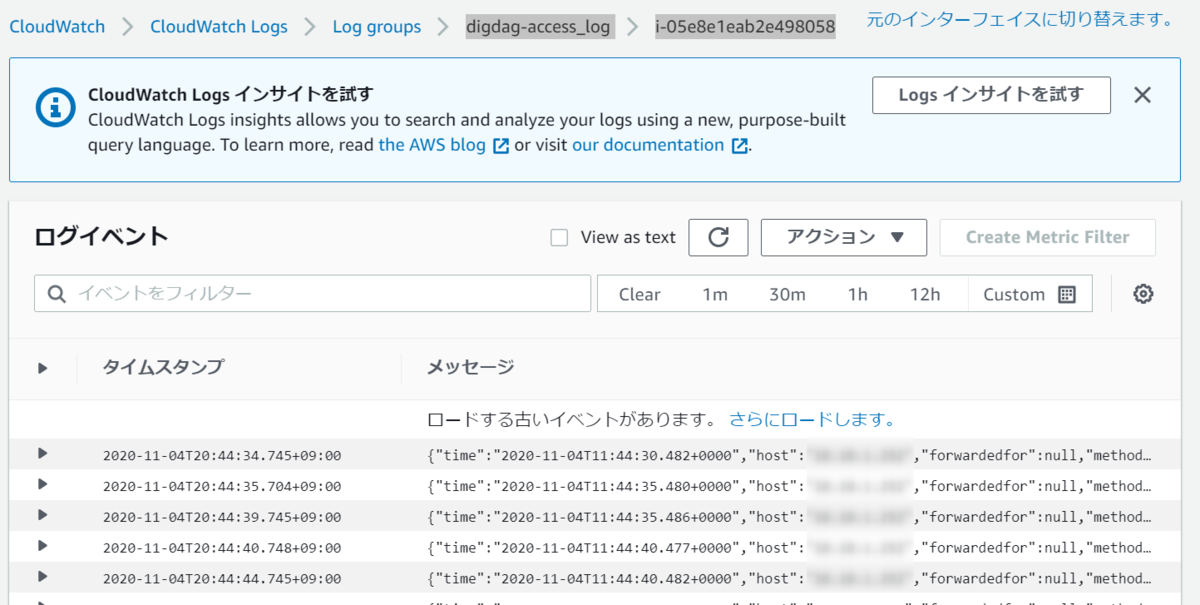
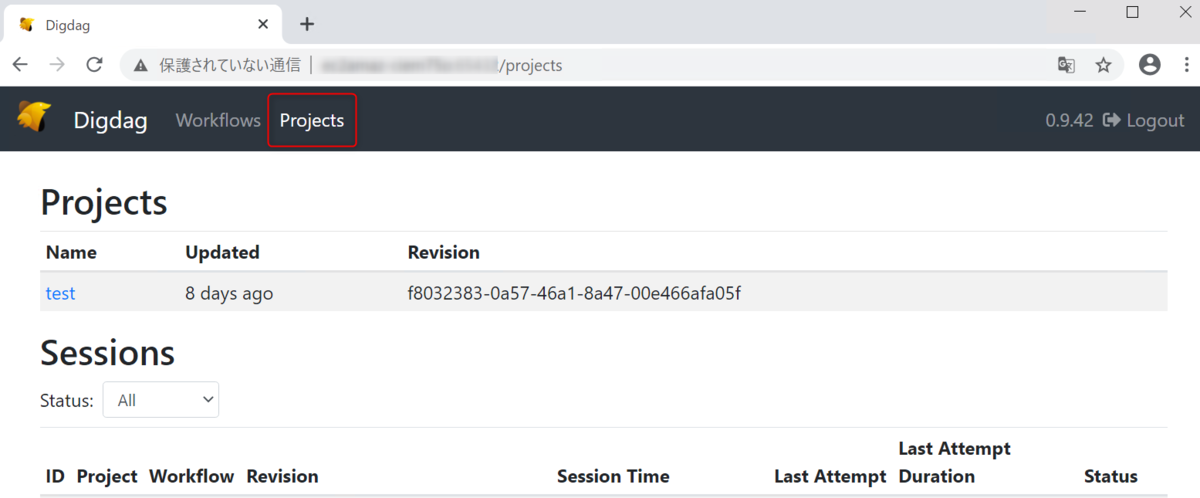
タイトル通りです。
設定としては既にDigdag Serverの設定は完了している前提になります。(過去の記事をご確認ください)
CloudWatchに持っていくための設定は以下の記事を参考に行いました。
dev.classmethod.jp
実施作業
CloudWatch 設定
基本的には参考にした記事の通りに手順するだけでOKです。
途中EC2にコンソールからアクセスする部分は、直接ログインしてコマンドプロンプトで実行しています。
SSMで必要なエージェントなどをインストールができたら、サーバ上のコマンドプロンプトで以下のコマンドを実行して、記載内容に従って設定していきます。
# amazon-cloudwatch-agent-config-wizard.exe
具体的に設定した内容は以下になります。
=============================================================
= Welcome to the AWS CloudWatch Agent Configuration Manager =
=============================================================
On which OS are you planning to use the agent?
1. linux
2. windows
default choice: [2]:
2
Trying to fetch the default region based on ec2 metadata...
Are you using EC2 or On-Premises hosts?
1. EC2
2. On-Premises
default choice: [1]:
1
Do you want to turn on StatsD daemon?
1. yes
2. no
default choice: [1]:
2
Do you have any existing CloudWatch Log Agent configuration file to import for migration?
1. yes
2. no
default choice: [2]:
2
Do you want to monitor any host metrics? e.g. CPU, memory, etc.
1. yes
2. no
default choice: [1]:
1
Do you want to monitor cpu metrics per core? Additional CloudWatch charges may apply.
1. yes
2. no
default choice: [1]:
2
Do you want to add ec2 dimensions (ImageId, InstanceId, InstanceType, AutoScalingGroupName) into all of your metrics if the info is available?
1. yes
2. no
default choice: [1]:
1
Would you like to collect your metrics at high resolution (sub-minute resolution)? This enables sub-minute resolution for all metrics, but you can customize for specific metrics in the output json file.
1. 1s
2. 10s
3. 30s
4. 60s
default choice: [4]:
4
Which default metrics config do you want?
1. Basic
2. Standard
3. Advanced
4. None
default choice: [1]:
2
Current config as follows:
{
        "metrics": {
                "append_dimensions": {
                        "AutoScalingGroupName": "${aws:AutoScalingGroupName}",
                        "ImageId": "${aws:ImageId}",
                        "InstanceId": "${aws:InstanceId}",
                        "InstanceType": "${aws:InstanceType}"
                },
                "metrics_collected": {
                        "LogicalDisk": {
                                "measurement": [
                                        "% Free Space"
                                ],
                                "metrics_collection_interval": 60,
                                "resources": [
                                        "*"
                                ]
                        },
                        "Memory": {
                                "measurement": [
                                        "% Committed Bytes In Use"
                                ],
                                "metrics_collection_interval": 60
                        },
                        "Paging File": {
                                "measurement": [
                                        "% Usage"
                                ],
                                "metrics_collection_interval": 60,
                                "resources": [
                                        "*"
                                ]
                        },
                        "PhysicalDisk": {
                                "measurement": [
                                        "% Disk Time"
                                ],
                                "metrics_collection_interval": 60,
                                "resources": [
                                        "*"
                                ]
                        },
                        "Processor": {
                                "measurement": [
                                        "% User Time",
                                        "% Idle Time",
                                        "% Interrupt Time"
                                ],
                                "metrics_collection_interval": 60,
                                "resources": [
                                        "_Total"
                                ]
                        }
                }
        }
}
Are you satisfied with the above config? Note: it can be manually customized after the wizard completes to add additional items.
1. yes
2. no
default choice: [1]:
1
Do you want to monitor any customized log files?
1. yes
2. no
default choice: [1]:
1
Log file path:
C:\opt\digdag\logs\accesslog\access.log
Log group name:
default choice: [access.log]
digdag-access_log
Log stream name:
default choice: [{instance_id}]

Do you want to specify any additional log files to monitor?
1. yes
2. no
default choice: [1]:
2
Do you want to monitor any Windows event log?
1. yes
2. no
default choice: [1]:
2
Saved config file to config.json successfully.
Current config as follows:
{
        "logs": {
                "logs_collected": {
                        "files": {
                                "collect_list": [
                                        {
                                                "file_path": "C:\\opt\\digdag\\logs\\accesslog\\access.log",
                                                "log_group_name": "digdag-access_log",
                                                "log_stream_name": "{instance_id}"
                                        }
                                ]
                        }
                }
        },
        "metrics": {
                "append_dimensions": {
                        "AutoScalingGroupName": "${aws:AutoScalingGroupName}",
                        "ImageId": "${aws:ImageId}",
                        "InstanceId": "${aws:InstanceId}",
                        "InstanceType": "${aws:InstanceType}"
                },
                "metrics_collected": {
                        "LogicalDisk": {
                                "measurement": [
                                        "% Free Space"
                                ],
                                "metrics_collection_interval": 60,
                                "resources": [
                                        "*"
                                ]
                        },
                        "Memory": {
                                "measurement": [
                                        "% Committed Bytes In Use"
                                ],
                                "metrics_collection_interval": 60
                        },
                        "Paging File": {
                                "measurement": [
                                        "% Usage"
                                ],
                                "metrics_collection_interval": 60,
                                "resources": [
                                        "*"
                                ]
                        },
                        "PhysicalDisk": {
                                "measurement": [
                                        "% Disk Time"
                                ],
                                "metrics_collection_interval": 60,
                                "resources": [
                                        "*"
                                ]
                        },
                        "Processor": {
                                "measurement": [
                                        "% User Time",
                                        "% Idle Time",
                                        "% Interrupt Time"
                                ],
                                "metrics_collection_interval": 60,
                                "resources": [
                                        "_Total"
                                ]
                        }
                }
        }
}
Please check the above content of the config.
The config file is also located at config.json.
Edit it manually if needed.
Do you want to store the config in the SSM parameter store?
1. yes
2. no
default choice: [1]:
1
What parameter store name do you want to use to store your config? (Use 'AmazonCloudWatch-' prefix if you use our managed AWS policy)
default choice: [AmazonCloudWatch-windows]
AmazonCloudWatch-windows-digdag
Trying to fetch the default region based on ec2 metadata...
Which region do you want to store the config in the parameter store?
default choice: [ap-northeast-1]

Which AWS credential should be used to send json config to parameter store?
1. XXXXXXXXXXXXXXXXXXXXXX(From SDK)
2. Other
default choice: [1]:
2
Please provide credentials to upload the json config file to parameter store.
AWS Access Key:
XXXXXXXXXXXXXXXXXXXXXX
AWS Secret Key:
XXXXXXXXXXXXXXXXXXXXXXXXXXXXXXXXXXXXXXXXXXXX
Successfully put config to parameter store AmazonCloudWatch-windows-digdag.
Please press Enter to exit...

Program exits now.
最後にSuccessfullyを出力されたら設定は完了です。
具体的な出力設定は以下です。
感想及び所感
以上digdagのアクセスログをCloudWatchに転送してみました。
今回は設定していなかったですが、アクセス失敗時の文字列をフィルタしてアラームを作成することもできます。


