現在在籍している会社はAzureの検証環境があるので申請すればある程度は自由に使えるのですが、サブスクリプションは共用利用なのでライセンス周りやコスト部分はあまり触れないようになっています。
M365ライセンス周りであれば以下の記事で紹介されている「Microsoft 365 開発者プログラム」とか使えば無料で利用できます。
www.softbanktech.co.jp
ただ、Azureのコストなどは対象外なので、検証用に個人のAzureサブスクリプションを作成し、従量課金プランにアップグレードしましたので、公式ドキュメントを元に予算アラートを設定してみました。
実施作業
参照ドキュメント
以下の公式ドキュメントを参考に実施しました。
この手順はARMテンプレートを使用して予算アラートを設定する手順になります。
AWS的にいうとCFn的なものを使ってサクッと作る、という感じです。
learn.microsoft.com
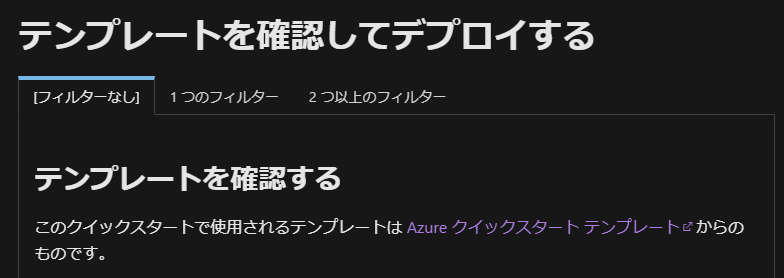
ARMテンプレートを確認する
ドキュメントにはデプロイするARMテンプレートが3種類準備されています。
- フィルターなしテンプレート:ARMテンプレートにはフィルターが含まれない
- 1つのフィルターありテンプレート:ARMテンプレートにはリソースグループのフィルターが含まれる
- 2つ以上のフィルターありテンプレート:ARMテンプレートにはリソースグループのフィルターと測定カテゴリのフィルターが含まれる
今回はフィルター無しテンプレートを利用します。
実際に利用するテンプレートの内容は以下になります。
JSON形式で記述され、「$schema」「contentVersion」「metadata」「parameters」「resources」の5つのコンポーネントから構成されています。
この中で重要なのは「parameters」「resources」の2つで、それぞれAWS CFnの対応するコンポーネントと同じような役割を持ちます。
{
  "$schema": "https://schema.management.azure.com/schemas/2018-05-01/subscriptionDeploymentTemplate.json#",
  "contentVersion": "1.0.0.0",
  "metadata": {
    "_generator": {
      "name": "bicep",
      "version": "0.5.6.12127",
      "templateHash": "15851432186142062555"
    }
  },
  "parameters": {
    "budgetName": {
      "type": "string",
      "defaultValue": "MyBudget",
      "metadata": {
        "description": "Name of the Budget. It should be unique within a resource group."
      }
    },
    "amount": {
      "type": "int",
      "defaultValue": 1000,
      "metadata": {
        "description": "The total amount of cost or usage to track with the budget"
      }
    },
    "timeGrain": {
      "type": "string",
      "defaultValue": "Monthly",
      "allowedValues": [
        "Monthly",
        "Quarterly",
        "Annually"
      ],
      "metadata": {
        "description": "The time covered by a budget. Tracking of the amount will be reset based on the time grain."
      }
    },
    "startDate": {
      "type": "string",
      "metadata": {
        "description": "The start date must be first of the month in YYYY-MM-DD format. Future start date should not be more than three months. Past start date should be selected within the timegrain preiod."
      }
    },
    "endDate": {
      "type": "string",
      "metadata": {
        "description": "The end date for the budget in YYYY-MM-DD format. If not provided, we default this to 10 years from the start date."
      }
    },
    "firstThreshold": {
      "type": "int",
      "defaultValue": 90,
      "metadata": {
        "description": "Threshold value associated with a notification. Notification is sent when the cost exceeded the threshold. It is always percent and has to be between 0.01 and 1000."
      }
    },
    "secondThreshold": {
      "type": "int",
      "defaultValue": 110,
      "metadata": {
        "description": "Threshold value associated with a notification. Notification is sent when the cost exceeded the threshold. It is always percent and has to be between 0.01 and 1000."
      }
    },
    "contactEmails": {
      "type": "array",
      "metadata": {
        "description": "The list of email addresses to send the budget notification to when the threshold is exceeded."
      }
    }
  },
  "resources": [
    {
      "type": "Microsoft.Consumption/budgets",
      "apiVersion": "2021-10-01",
      "name": "[parameters('budgetName')]",
      "properties": {
        "timePeriod": {
          "startDate": "[parameters('startDate')]",
          "endDate": "[parameters('endDate')]"
        },
        "timeGrain": "[parameters('timeGrain')]",
        "amount": "[parameters('amount')]",
        "category": "Cost",
        "notifications": {
          "NotificationForExceededBudget1": {
            "enabled": true,
            "operator": "GreaterThan",
            "threshold": "[parameters('firstThreshold')]",
            "contactEmails": "[parameters('contactEmails')]"
          },
          "NotificationForExceededBudget2": {
            "enabled": true,
            "operator": "GreaterThan",
            "threshold": "[parameters('secondThreshold')]",
            "contactEmails": "[parameters('contactEmails')]"
          }
        }
      }
    }
  ]
}
デプロイ実行
ドキュメントのテンプレート確認手順の部分で[フィルターなし]を選択します。
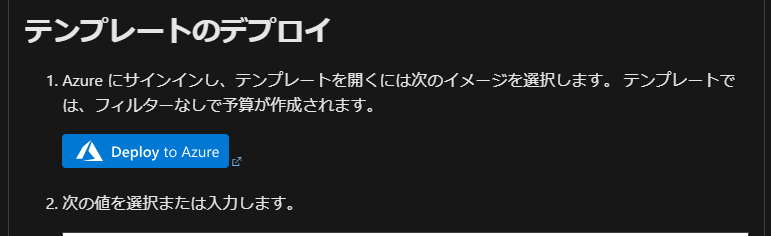
テンプレートのデプロイ手順の部分で[Deploy to Azure]というボタンがあるので、クリックします。
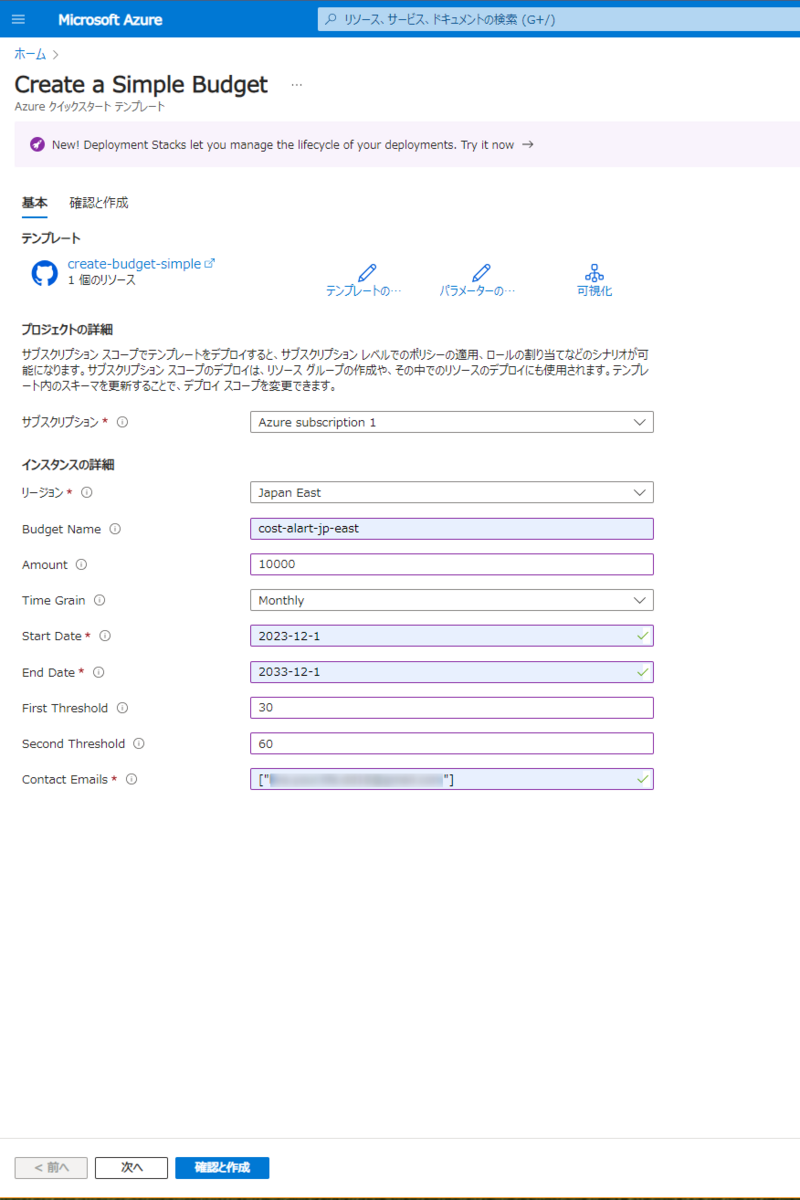
デプロイ画面が立ち上がります。
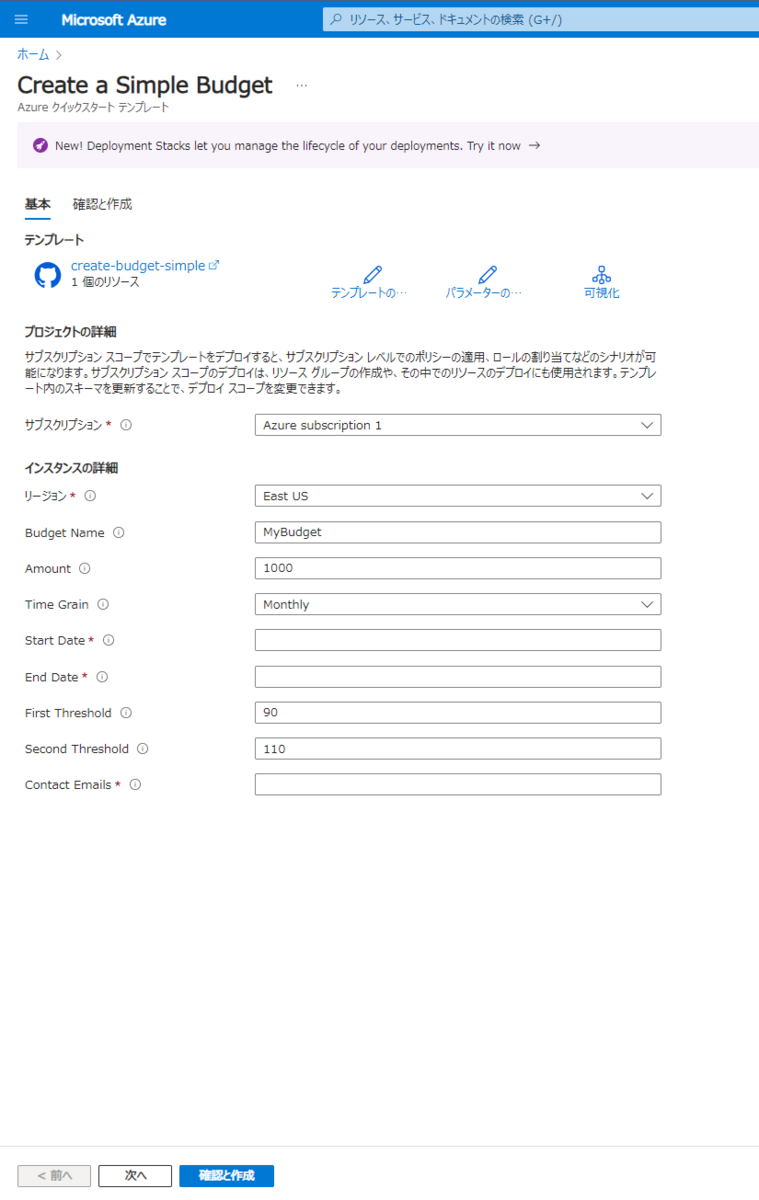
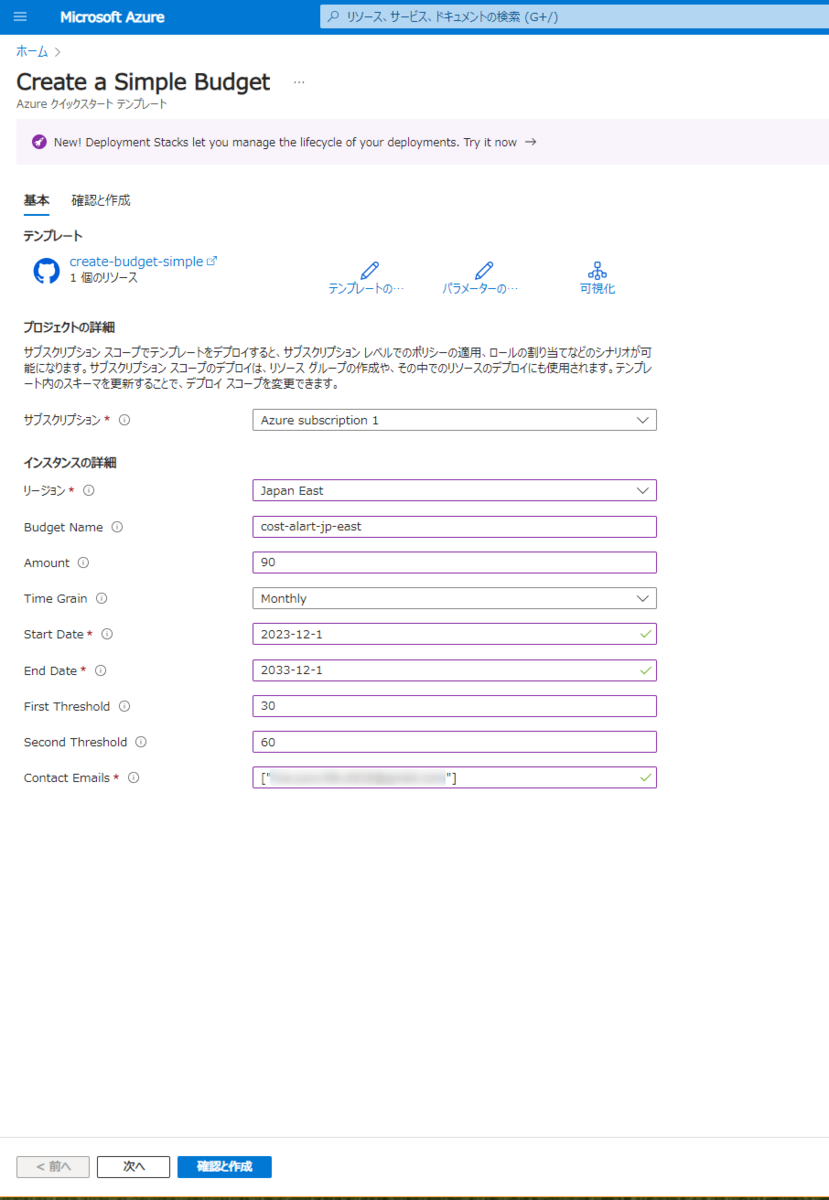
以下のパラメータを入力して[確認と作成]ボタンを押下します。
- サブスクリプション:対象のAzureサブスクリプションを選択
- リージョン:対象のリージョンを選択。ここでは東日本を選択
- 予算名(Badget Name):予算名を入力
- 金額(Amount):予算で追跡するコストの合計額を入力。ここでは$90を指定→後述してますが"JPY"なので日本円で指定が必要です。
- 時間グレイン(Time Grain):予算の対象となる時間を入力。ここで指定した期間でコスト積み上げ計算する。毎月・四半期・毎年が選択可能
- 開始日(Start Date):集計開始日をYYYY-MM-DD形式で指定します。過去の日付も指定可能なので今回は12/1を指定しました。
- 終了日(End Date):集計終了日をYYYY-MM-DD形式で指定します。今回は10年で設定します。
- 最初のしきい値(First Threshold):最初の通知するしきい値を指定。パーセント単位となり今回は30%としました。
- 2つ目のしきい値(Second Threshold):2つ目の通知するしきい値を指定。パーセント単位となり今回は60%としました。
- 連絡先メールアドレス(Contact Emails):しきい値を超えたときの通知先を入力。「["メールアドレス1","メールアドレス2"]」という形式で指定します。
設定内容を確認して[作成]ボタンを押下します。
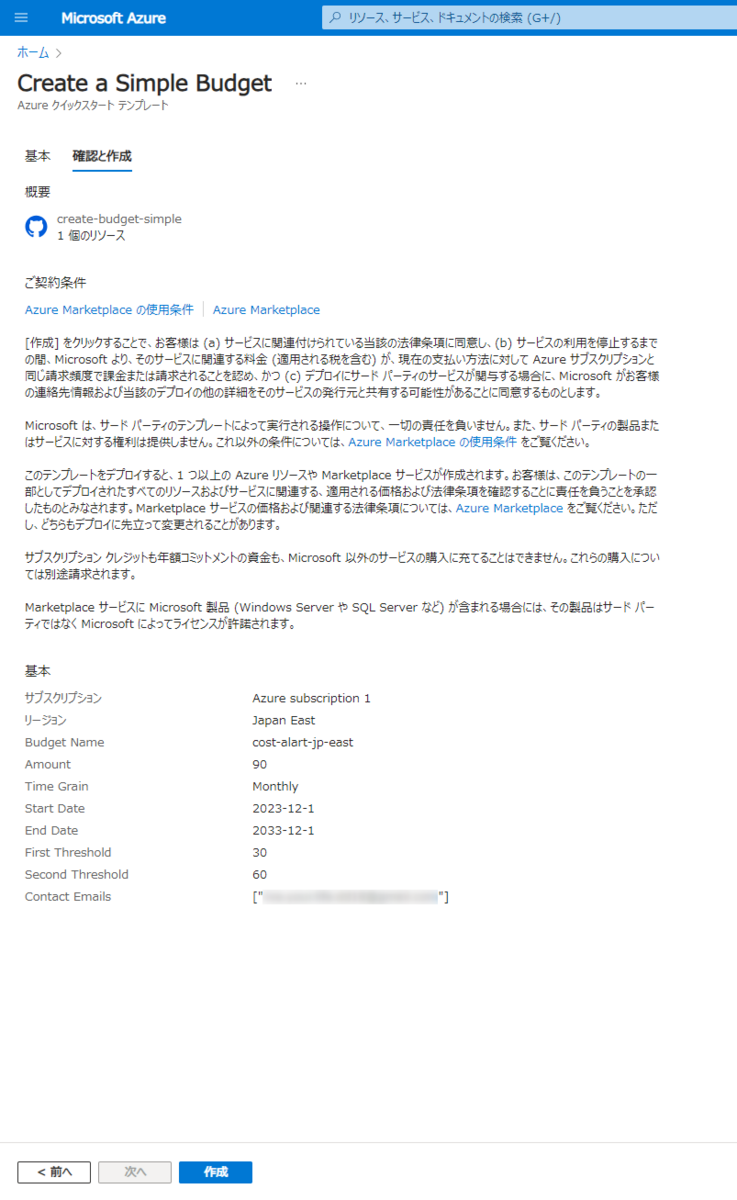
デプロイ確認
デプロイ中画面に遷移します。
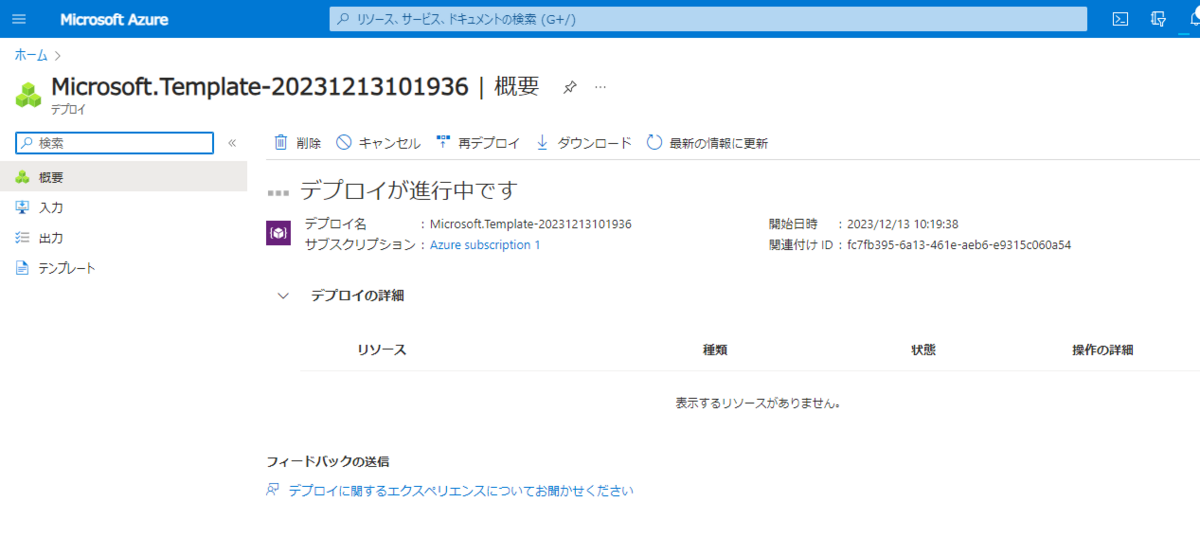
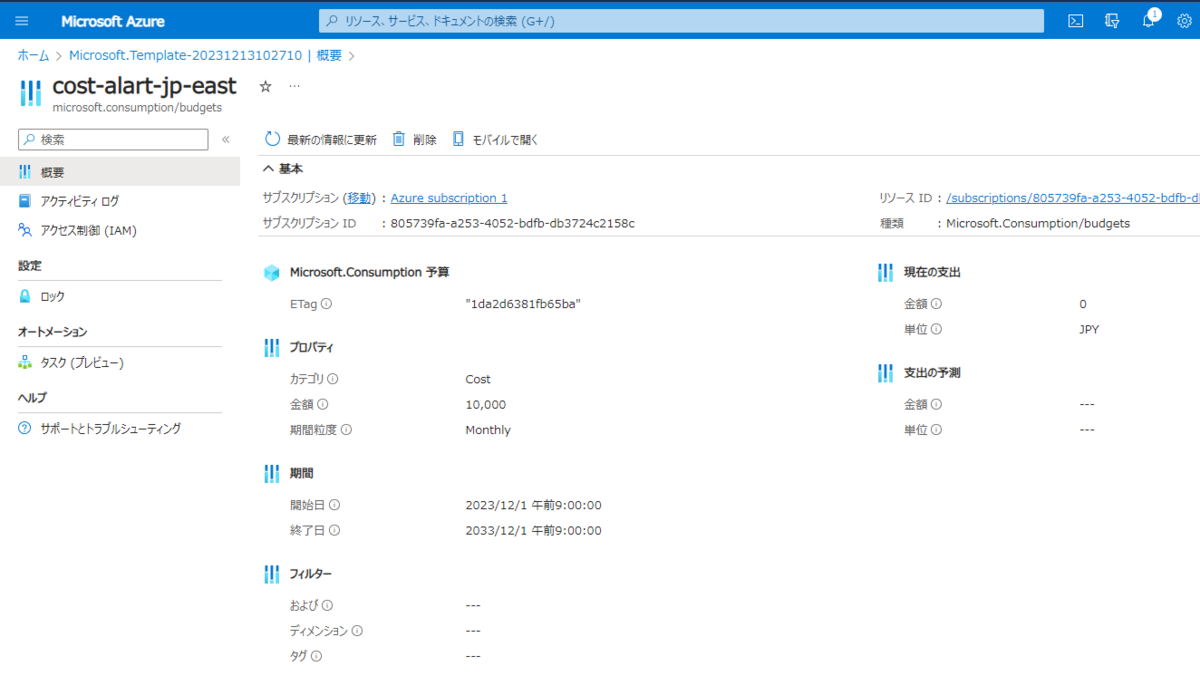
デプロイ完了後にリソースを確認することができます。

ここで一つミスに気付きました。
"JPY"でした\(^o^)/
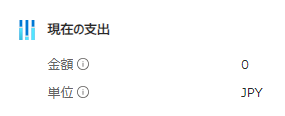
一度削除して、日本円に修正して再作成します。
今度は大丈夫そうです。
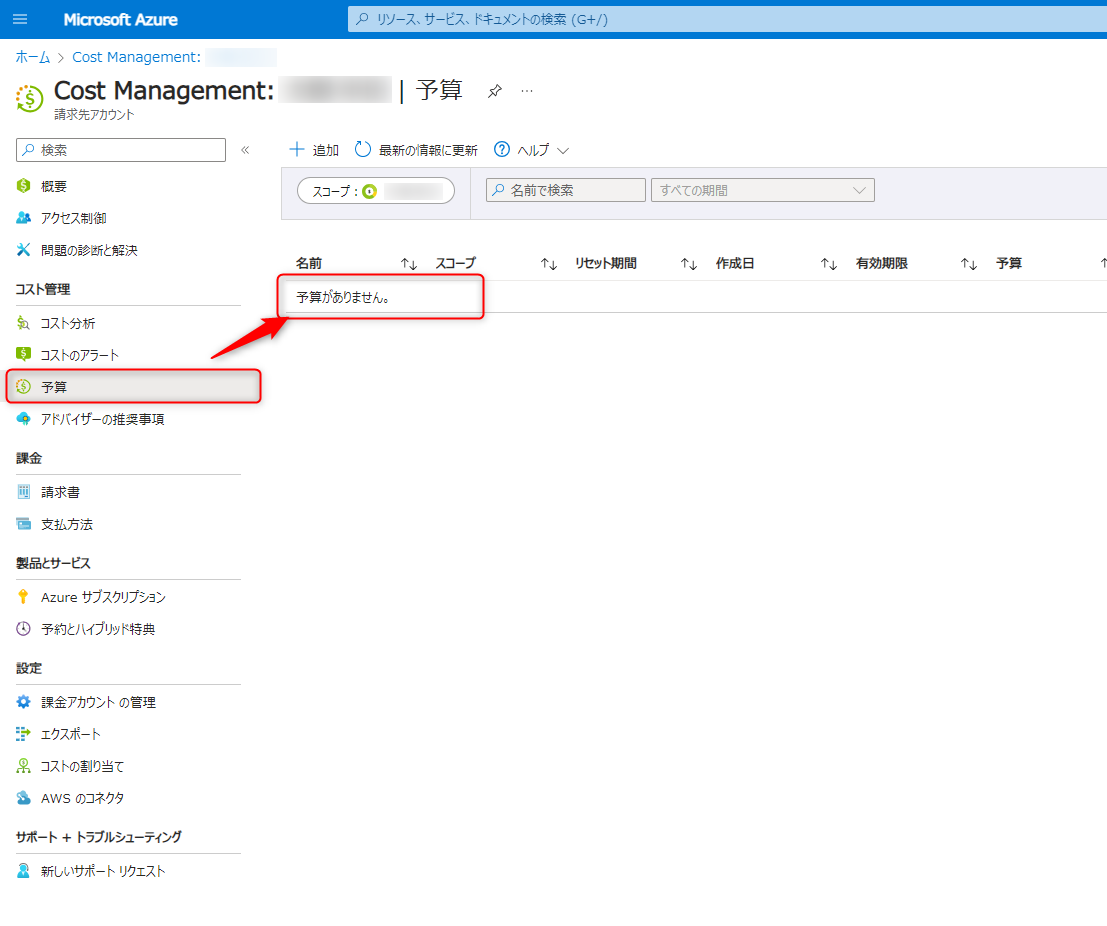
作成した後に気付きましたが、Cost Managementからも予算やコストのアラートを作成・確認できますが、先ほど作成した予算とアラート設定は表示されませんでした。
別物ということなんでしょうか...?寧ろ先にコンソールから手動で作る手順が検索上位に出てきてほしかったです。
感想及び所感
Azureはそれほど使ったことがなく、認識外のコストがかかってしまうとかがないか心配なので設定してみました。
一旦設定自体はできたようなので、これで様子見をしてみたいと思います。
この記事がどなたかの参考になれば幸いです。